DocFX for Unity
DocFX usage example for Unity projects
DocFX tool generates a clean documentation that looks like the Unity documentation with a manual (written in Markdown) and a scripting API (from the C# scripts of the project).
This repository contains a simple Unity example project which documentation is automatically generated and deployed online: https://normanderwan.github.io/DocFxForUnity/. It references both C# API and Unity API.
| DocFxForUnity documentation manual |
|---|
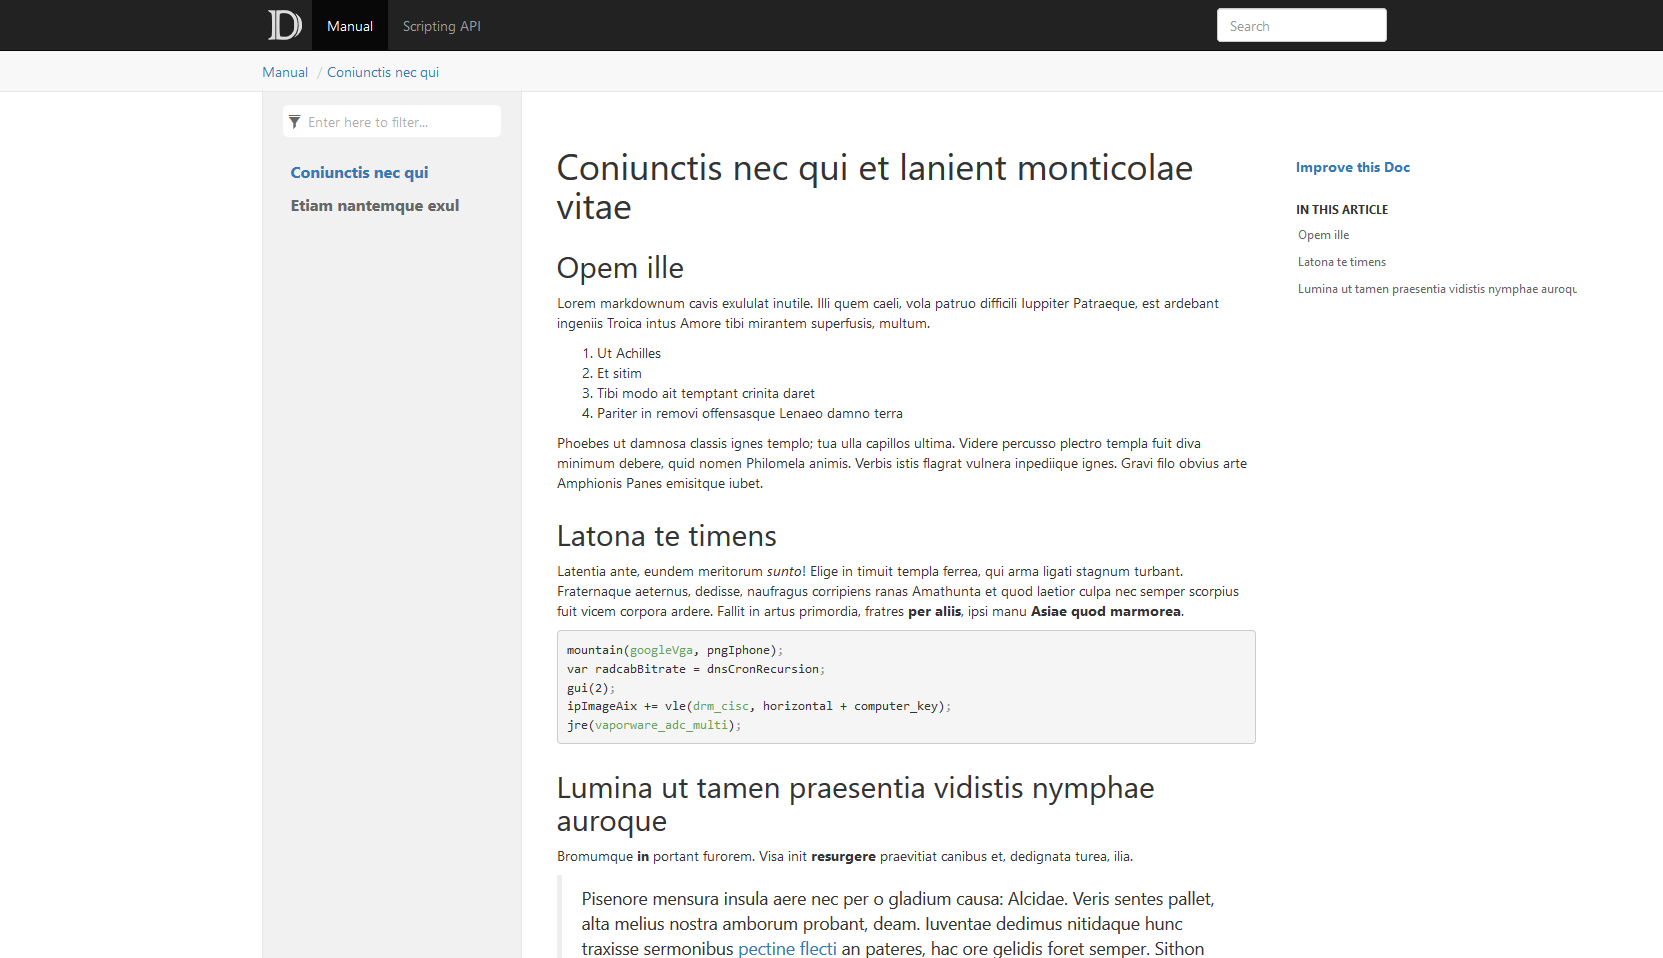 |
| DocFxForUnity documentation scripting API |
|---|
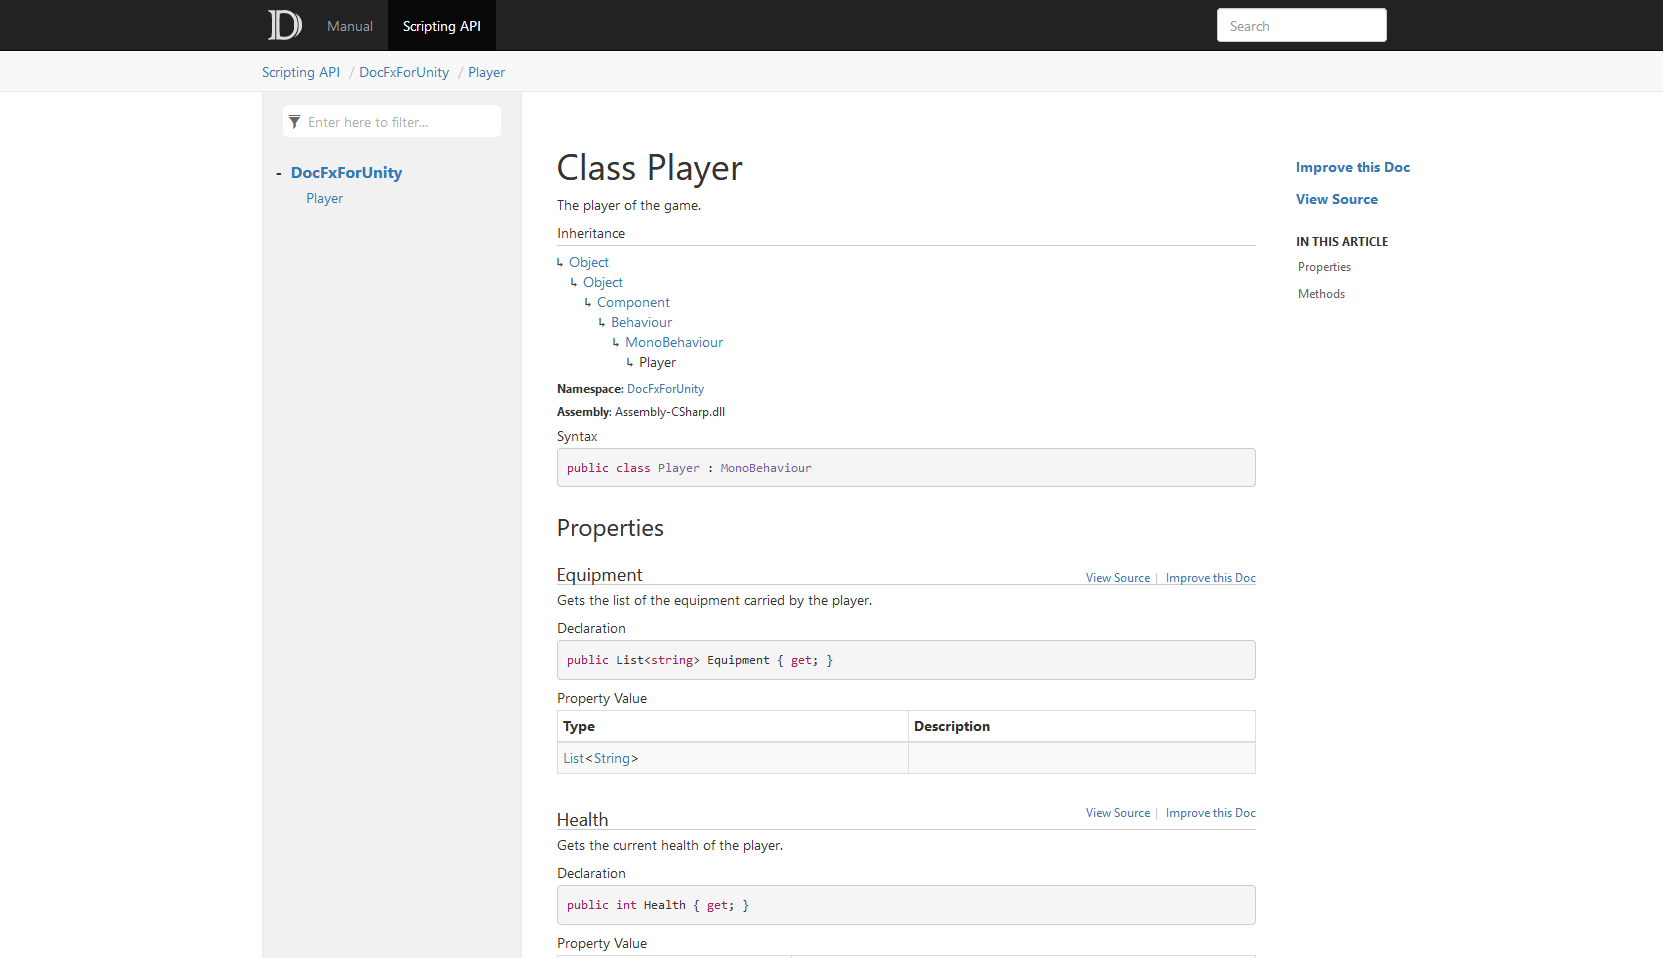 |
Setup your documentation
Copy the
Documentation/folder to your Unity project:. ├── Assets + ├── Documentation ├── Package ├── ProjectSettings └── README.mdYou can rename
Documentation/DocFxForUnity.csprojto match your project — just update the filename inDocumentation/docfx.jsonundermetadata[0].src[0].filesaccordingly.Edit the following properties in
Documentation/docfx.json, keep the others as it is:{ "build": { "globalMetadata": // Edit your documentation website info, see: https://dotnet.github.io/docfx/tutorial/docfx.exe_user_manual.html#322-reserved-metadata { "_appTitle": "Example Unity documentation", "_appFooter": "Example Unity documentation", "_enableSearch": true }, "sitemap": { "baseUrl": "https://normanderwan.github.io/DocFxForUnity" // The URL of your documentation website } }It's the configuration file of your documentation. See https://dotnet.github.io/docfx/tutorial/docfx.exe_user_manual.html#3-docfxjson-format for more details.
Edit
Documentation/filterConfig.yml:apiRules: - include: # The namespaces to generate uidRegex: ^Your\.Namespace1 type: Namespace - include: uidRegex: ^Your\.Namespace2 type: Namespace - exclude: uidRegex: .* # Every other namespaces are ignored type: NamespaceIt tells DocFX which namespaces you want to generate the documentation. See https://dotnet.github.io/docfx/tutorial/howto_filter_out_unwanted_apis_attributes.html for more details.
Document your classes and methods. See https://docs.microsoft.com/en-us/dotnet/csharp/codedoc for more details.
(Optional) Add your manual pages:
- Write a Markdown file for each page in
Documentation/manual/. - Keep a list of these pages on
Documentation/manual/toc.yml.
- Write a Markdown file for each page in
(Optional) Add resources such as images:
- Copy them to
Documentation/resources/. - Reference them on your docs or manual pages.
- See https://dotnet.github.io/docfx/tutorial/links_and_cross_references.html#link-to-a-file-using-relative-path for more details.
- Copy them to
(Optional) Document your namespaces:
For each namespace, add a
Assets/Scripts/Your/Namespace1/Your.Namespace1.mdfile:--- uid: Your.Namespace1 summary: Description of the Your.Namespace1 namespace. ---See https://dotnet.github.io/docfx/tutorial/intro_overwrite_files.html to know how it works.
Generate your documentation:
On a command line opened on your project, run:
cp README.md Documentation/index.md
docfx Documentation/docfx.json --serve
The generated website will be visible at http://localhost:8080.
If you want to have a more similar look to the Unity documentation, see this UnityFX template for DocFX: https://github.com/code-beans/UnityFX.
Generate automatically your documentation
If you're using GitHub:
Copy the
.github/workflows/documentation.ymlworkflow to your Unity project:. + ├── .github + | └── workflows + | └── documentation.yml ├── Assets ├── Documentation ├── Package ├── ProjectSettings └── README.mdConfigure the Pages of your repository to use GitHub Actions.
Commit and push on the
mainbranch: your documentation will be built and deployed tohttps://<username>.github.io/<repository>.
If you're using GitLab, use the provided
.gitlab-ci.yml.
Generated website is pushed to a public/ directory. See the
GitLab Pages documentation for more
details.
Troubleshooting / FAQ
DocFX outputs:
Warning:[ExtractMetadata]No project detected for extracting metadata.Solution: Make sure
DocFxForUnity.csproj(or your renamed version) is inside theDocumentation/folder, and that the filename matches the entry inDocumentation/docfx.jsonundermetadata[0].src[0].files.DocFX outputs:
Warning:[ExtractMetadata]No metadata is generated for Assembly-CSharp,Assembly-CSharp-Editor.Solution: Make sure you included your namespace in
Documentation/filterConfig.yml:- include: uidRegex: ^Your\.Namespace1 type: NamespaceMSBuild outputs:
Unity managed DLLs not found.This means DocFX could not locate Unity's managed DLLs. It looks in three places, in order:
- The
UNITY_MANAGED_PATHenvironment variable (see below). lib/UnityEngine/at the project root (populated automatically by the CI workflow).- The default Unity Hub installation directory for your OS.
If Unity Hub is installed at a non-default location, or you want to target a specific Unity version, set
UNITY_MANAGED_PATH(see Advanced:UNITY_MANAGED_PATHbelow).- The
If you want to reference a specific version of Unity, change this line on your
docfx.json:"xref": [ "https://normanderwan.github.io/UnityXrefMaps/<version>/xrefmap.yml" ],where
<version>is a Unity version in the form ofYYYY.x(e.g. 2022.3, 2023.2, 6000.0).
Advanced: UNITY_MANAGED_PATH
By default, Documentation/DocFxForUnity.csproj auto-detects the Unity managed DLLs from the standard Unity Hub installation directory. Set UNITY_MANAGED_PATH when you need to:
- Use a Unity version installed at a non-default location.
- Pin to a specific version when multiple Unity versions are installed.
- Work without Unity Hub (standalone Unity install).
Point it to the UnityEngine subfolder inside your Unity installation's Managed directory:
| OS | Example path |
|---|---|
| Windows | C:\Program Files\Unity\Hub\Editor\6000.0.73f1\Editor\Data\Managed\UnityEngine |
| macOS | /Applications/Unity/Hub/Editor/6000.0.73f1/Unity.app/Contents/Managed/UnityEngine |
| Linux | ~/Unity/Hub/Editor/6000.0.73f1/Editor/Data/Managed/UnityEngine |
Set it in your shell before running DocFX:
# macOS / Linux
export UNITY_MANAGED_PATH="/Applications/Unity/Hub/Editor/6000.0.73f1/Unity.app/Contents/Managed/UnityEngine"
docfx Documentation/docfx.json --serve
# Windows (PowerShell)
$env:UNITY_MANAGED_PATH = "C:\Program Files\Unity\Hub\Editor\6000.0.73f1\Editor\Data\Managed\UnityEngine"
docfx Documentation/docfx.json --serve
Disclaimer
This repository is not sponsored by or affiliated with Unity Technologies or its affiliates. “Unity” is a trademark or registered trademark of Unity Technologies or its affiliates in the U.S. and elsewhere.